Great Toe Mobility : The Linchpin to Movement Longevity | (Part 2 – Functional Assessment)
I am very happy to see the overwhelming response to yesterday’s Part 1 of 3 blog posts in our Great Toe Mobility series.
Based on the responses it seems like many of you are already considering the great toe and it’s mobility during your assessments – great job! In today’s post we are going to review some of the most functional assessment techniques for the great toe as to ensure that we are all accurately and effectively assessing hallux dorsiflexion.
If you recall in Part 1 we emphasized the interconnection between great toe mobility, 1st ray stability and STJ position. Remember this interconnection as we go through the below assessment techniques. If you have not read Part 1 I highly recommend you reading it before proceeding to Part 2 – even if you think you know your great toe mobility. Part 1 is HERE
Open Chain vs. Closed Chain Assessment
When considering hallux dorsiflexion we always want to do both an open chain and a closed chain assessment. Reason being that in the open chain assessment we are getting an idea of the joint integrity and are able to rule out any crepitus or arthritic changes that may be present in the joint. Meanwhile in the closed chain assessment we are now factoring in functional stability of the foot to see if it allows maximum hallux dorsiflexion. One should not be done without the other.
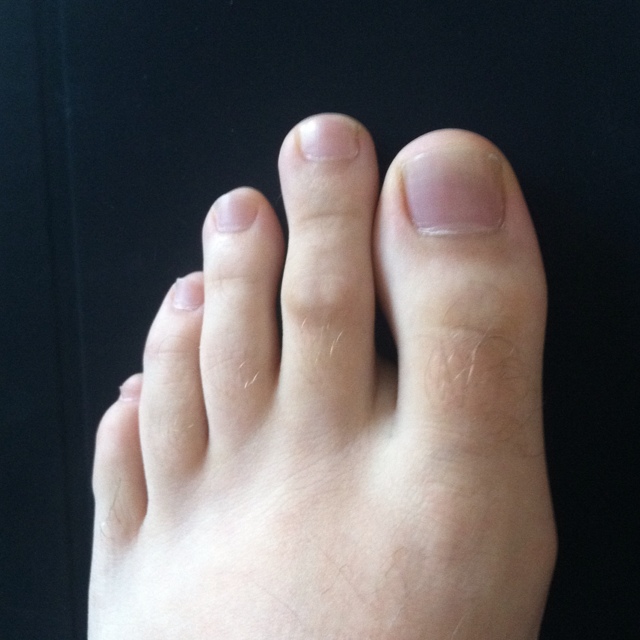
Step 1 – General 1st MPJ Appearance
Always start by looking at the 1st MPJ non-weight bearing.
Do you see a bunion? Depending on the size of the bunion this can greatly effect the integrity of the joint as well as alter push-off position.
Do you see spurring dorsally? In the presence of arthritis and altered joint function, the body starts to create spurs or osteophytes along the dorsal aspect of the joint.
These are easiest seen on X-ray but you can often see them or palpate them along the dorsal joint line. Depending on the degree of osteophytes they can begin to limit hallux dorsiflexion during push-off.
Step 2 – Joint Integrity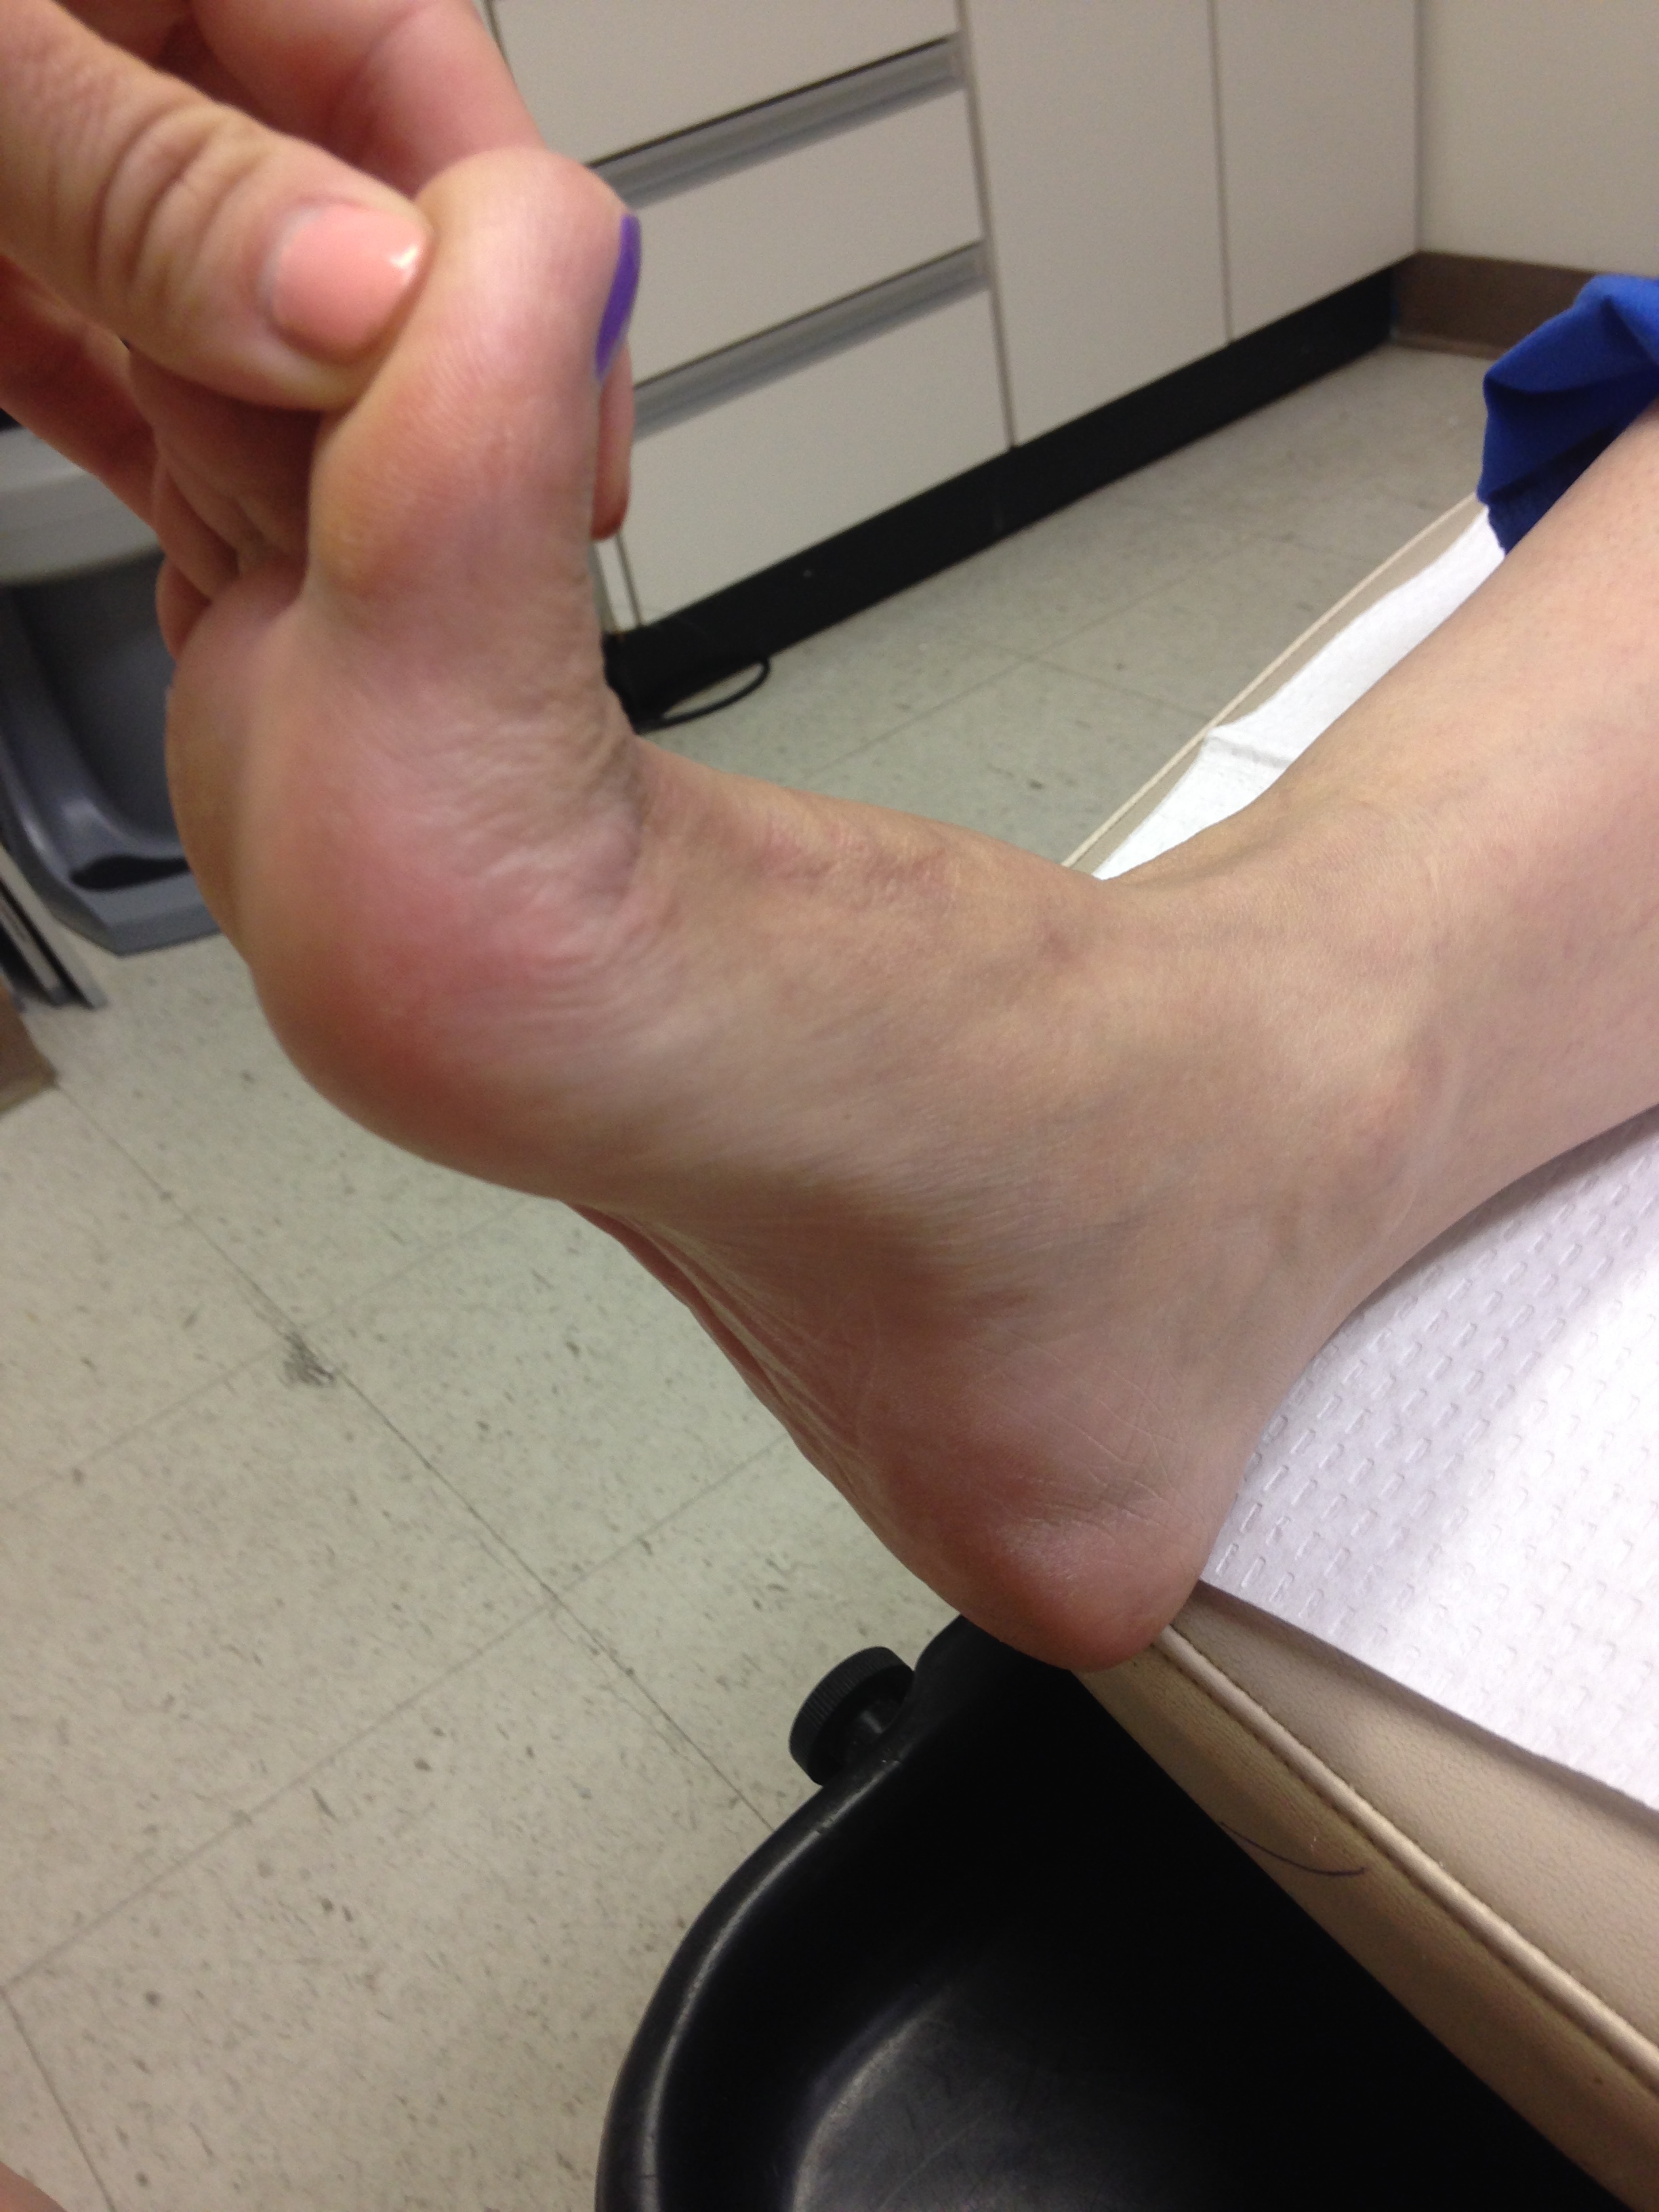
Next you want to assess the health of the joint to determine if any arthritic changes are present. By moving the toe up and down you are not only assessing mobility but are more so looking for the presence of crepitus or bone on bone.
In this step you also want to determine if there is limited dorsiflexion open-chain. If there is a limitation in open chain dorsiflexion – you will surely see a limitation on closed chain!
Step 3 – Load the 1st Metatarsal
In Step 2 we are simply looking for joint integrity but not getting an accurate representation of functional hallux dorsiflexion.
If you look at the picture on the right you will see that as I am dorsiflexing th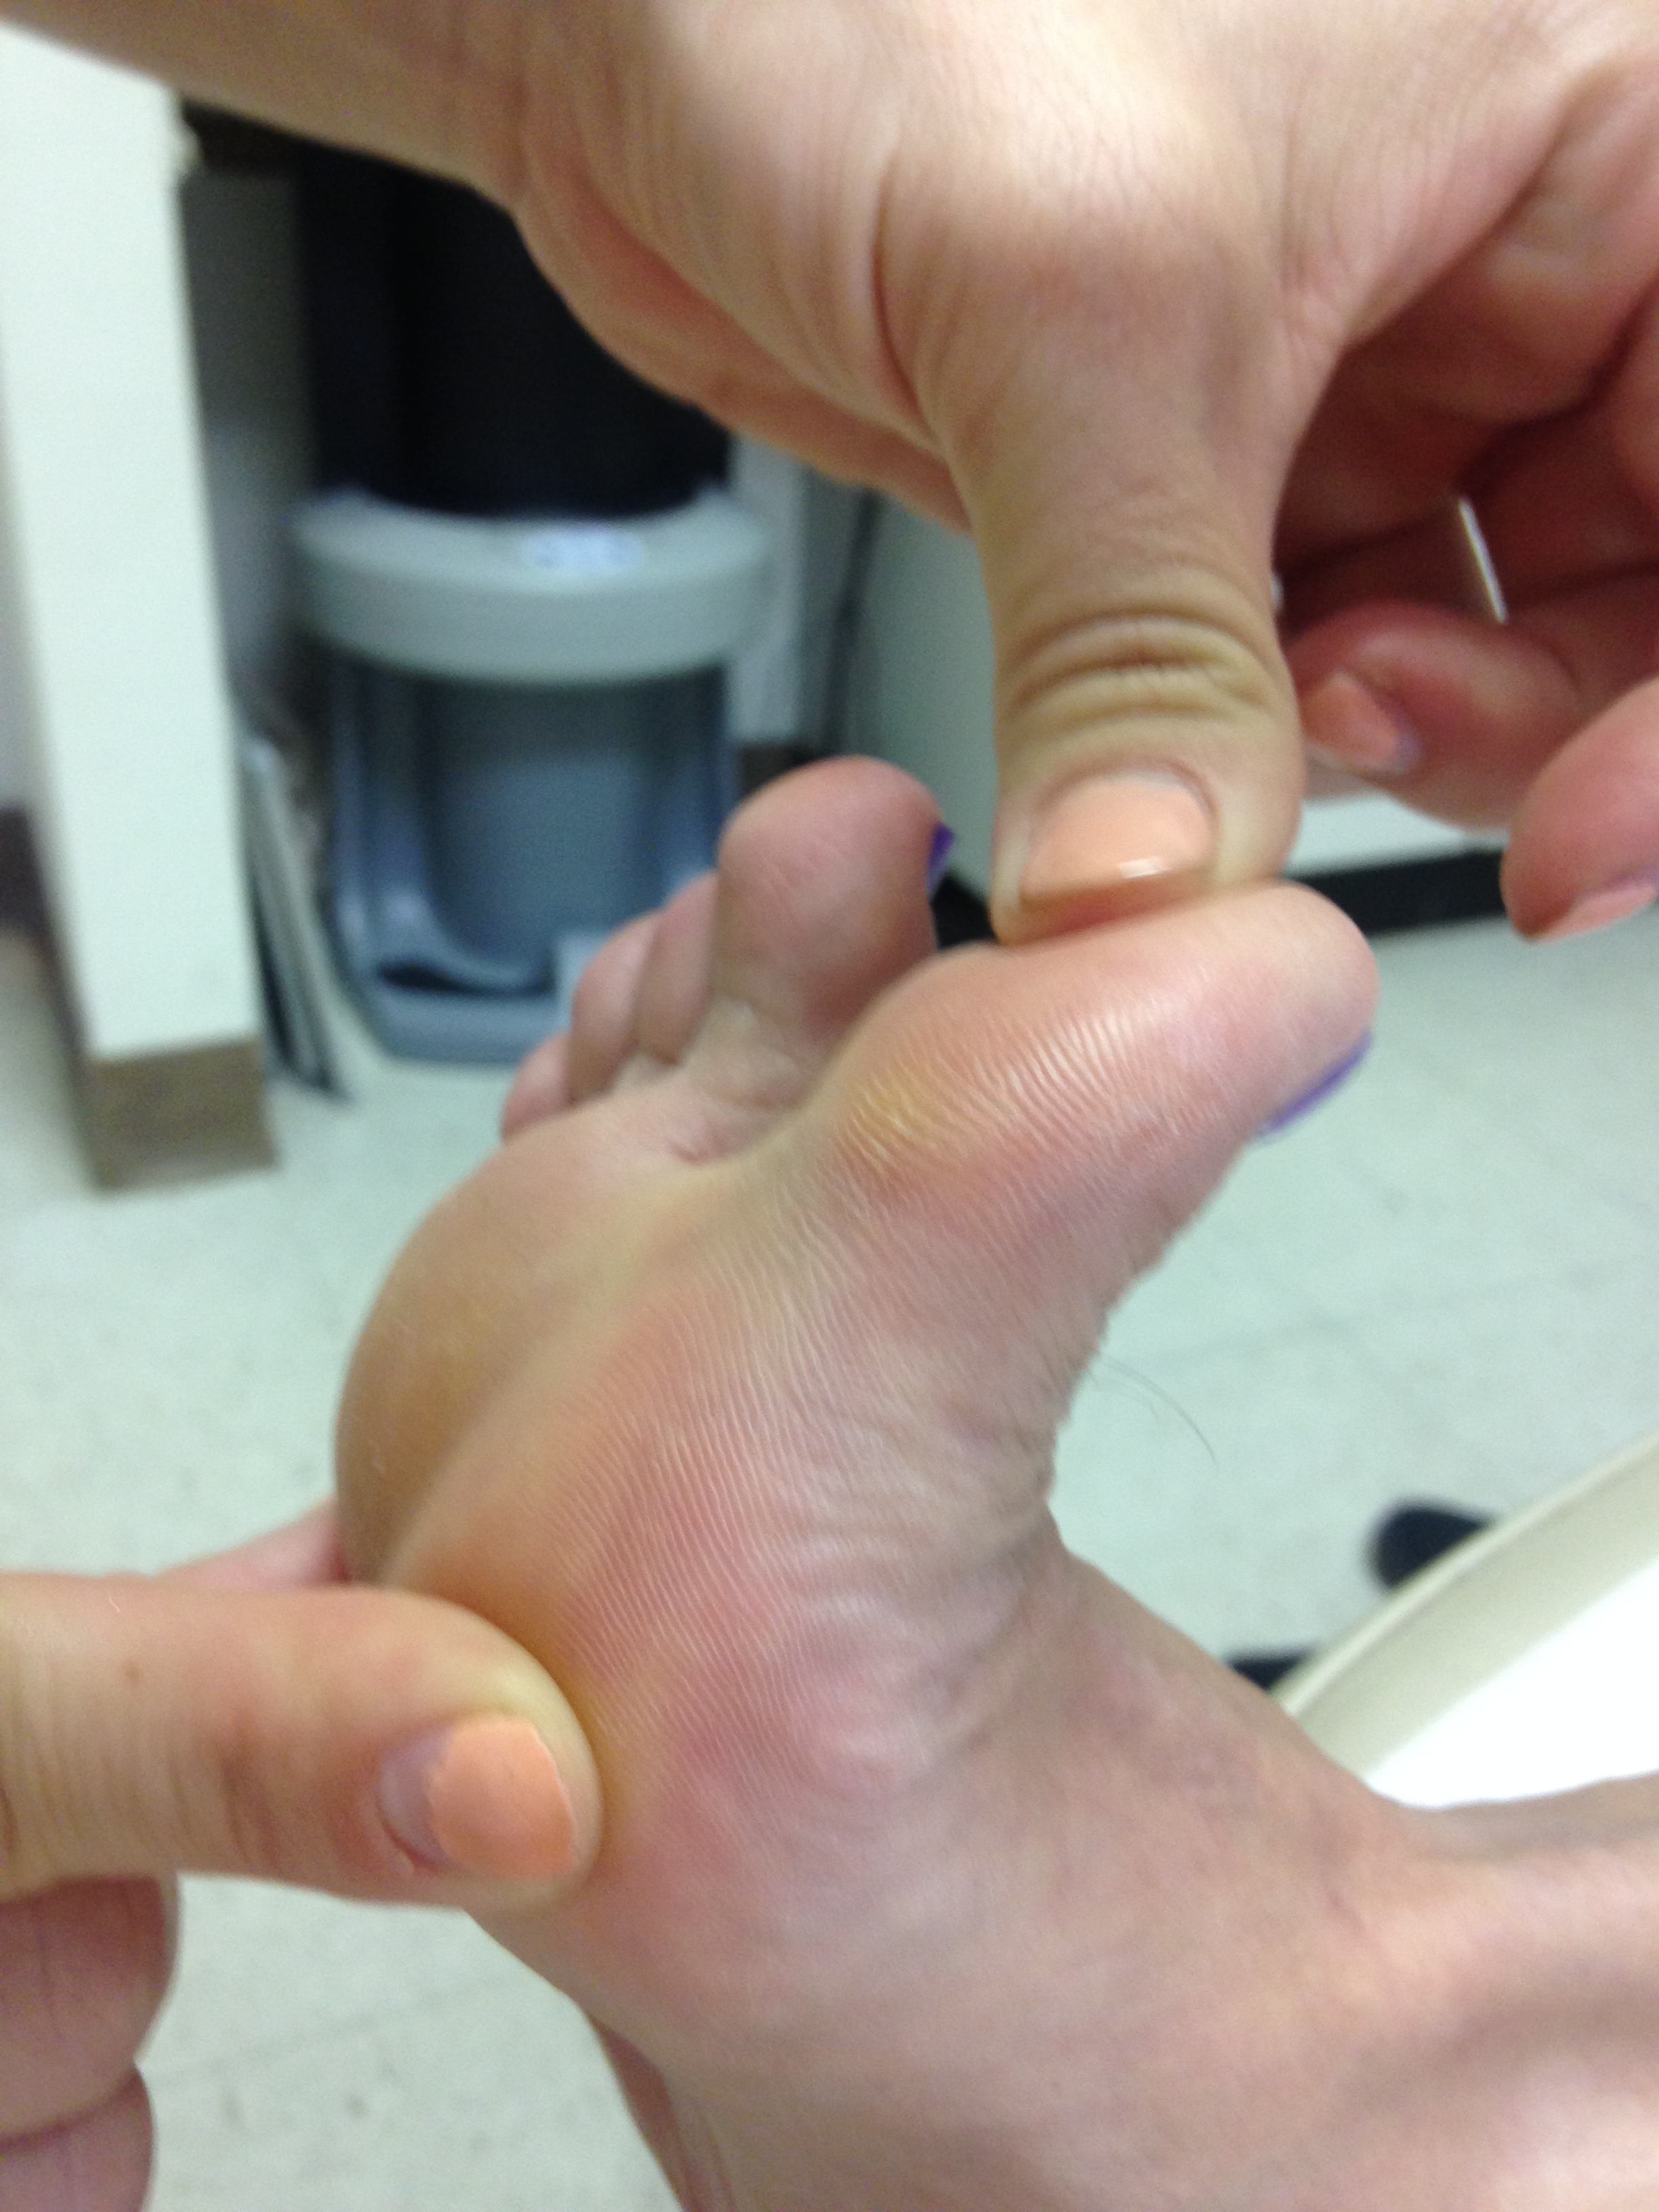 e hallux the 1st metatarsal head plantar flexes greatly. This degree of plantar flexion is not possible when standing on the ground as it would be blocked by the ground when we walk. This means that Step 2 assessment doesn’t really translate to closed chain dorsiflexion.
To get a more accurate representation of closed chain mobility you want to load the 1st metatarsal head like I am doing in the picture to the left. This mimics the ground when closed chain. Now dorsiflex the hallux and determine your mobility.
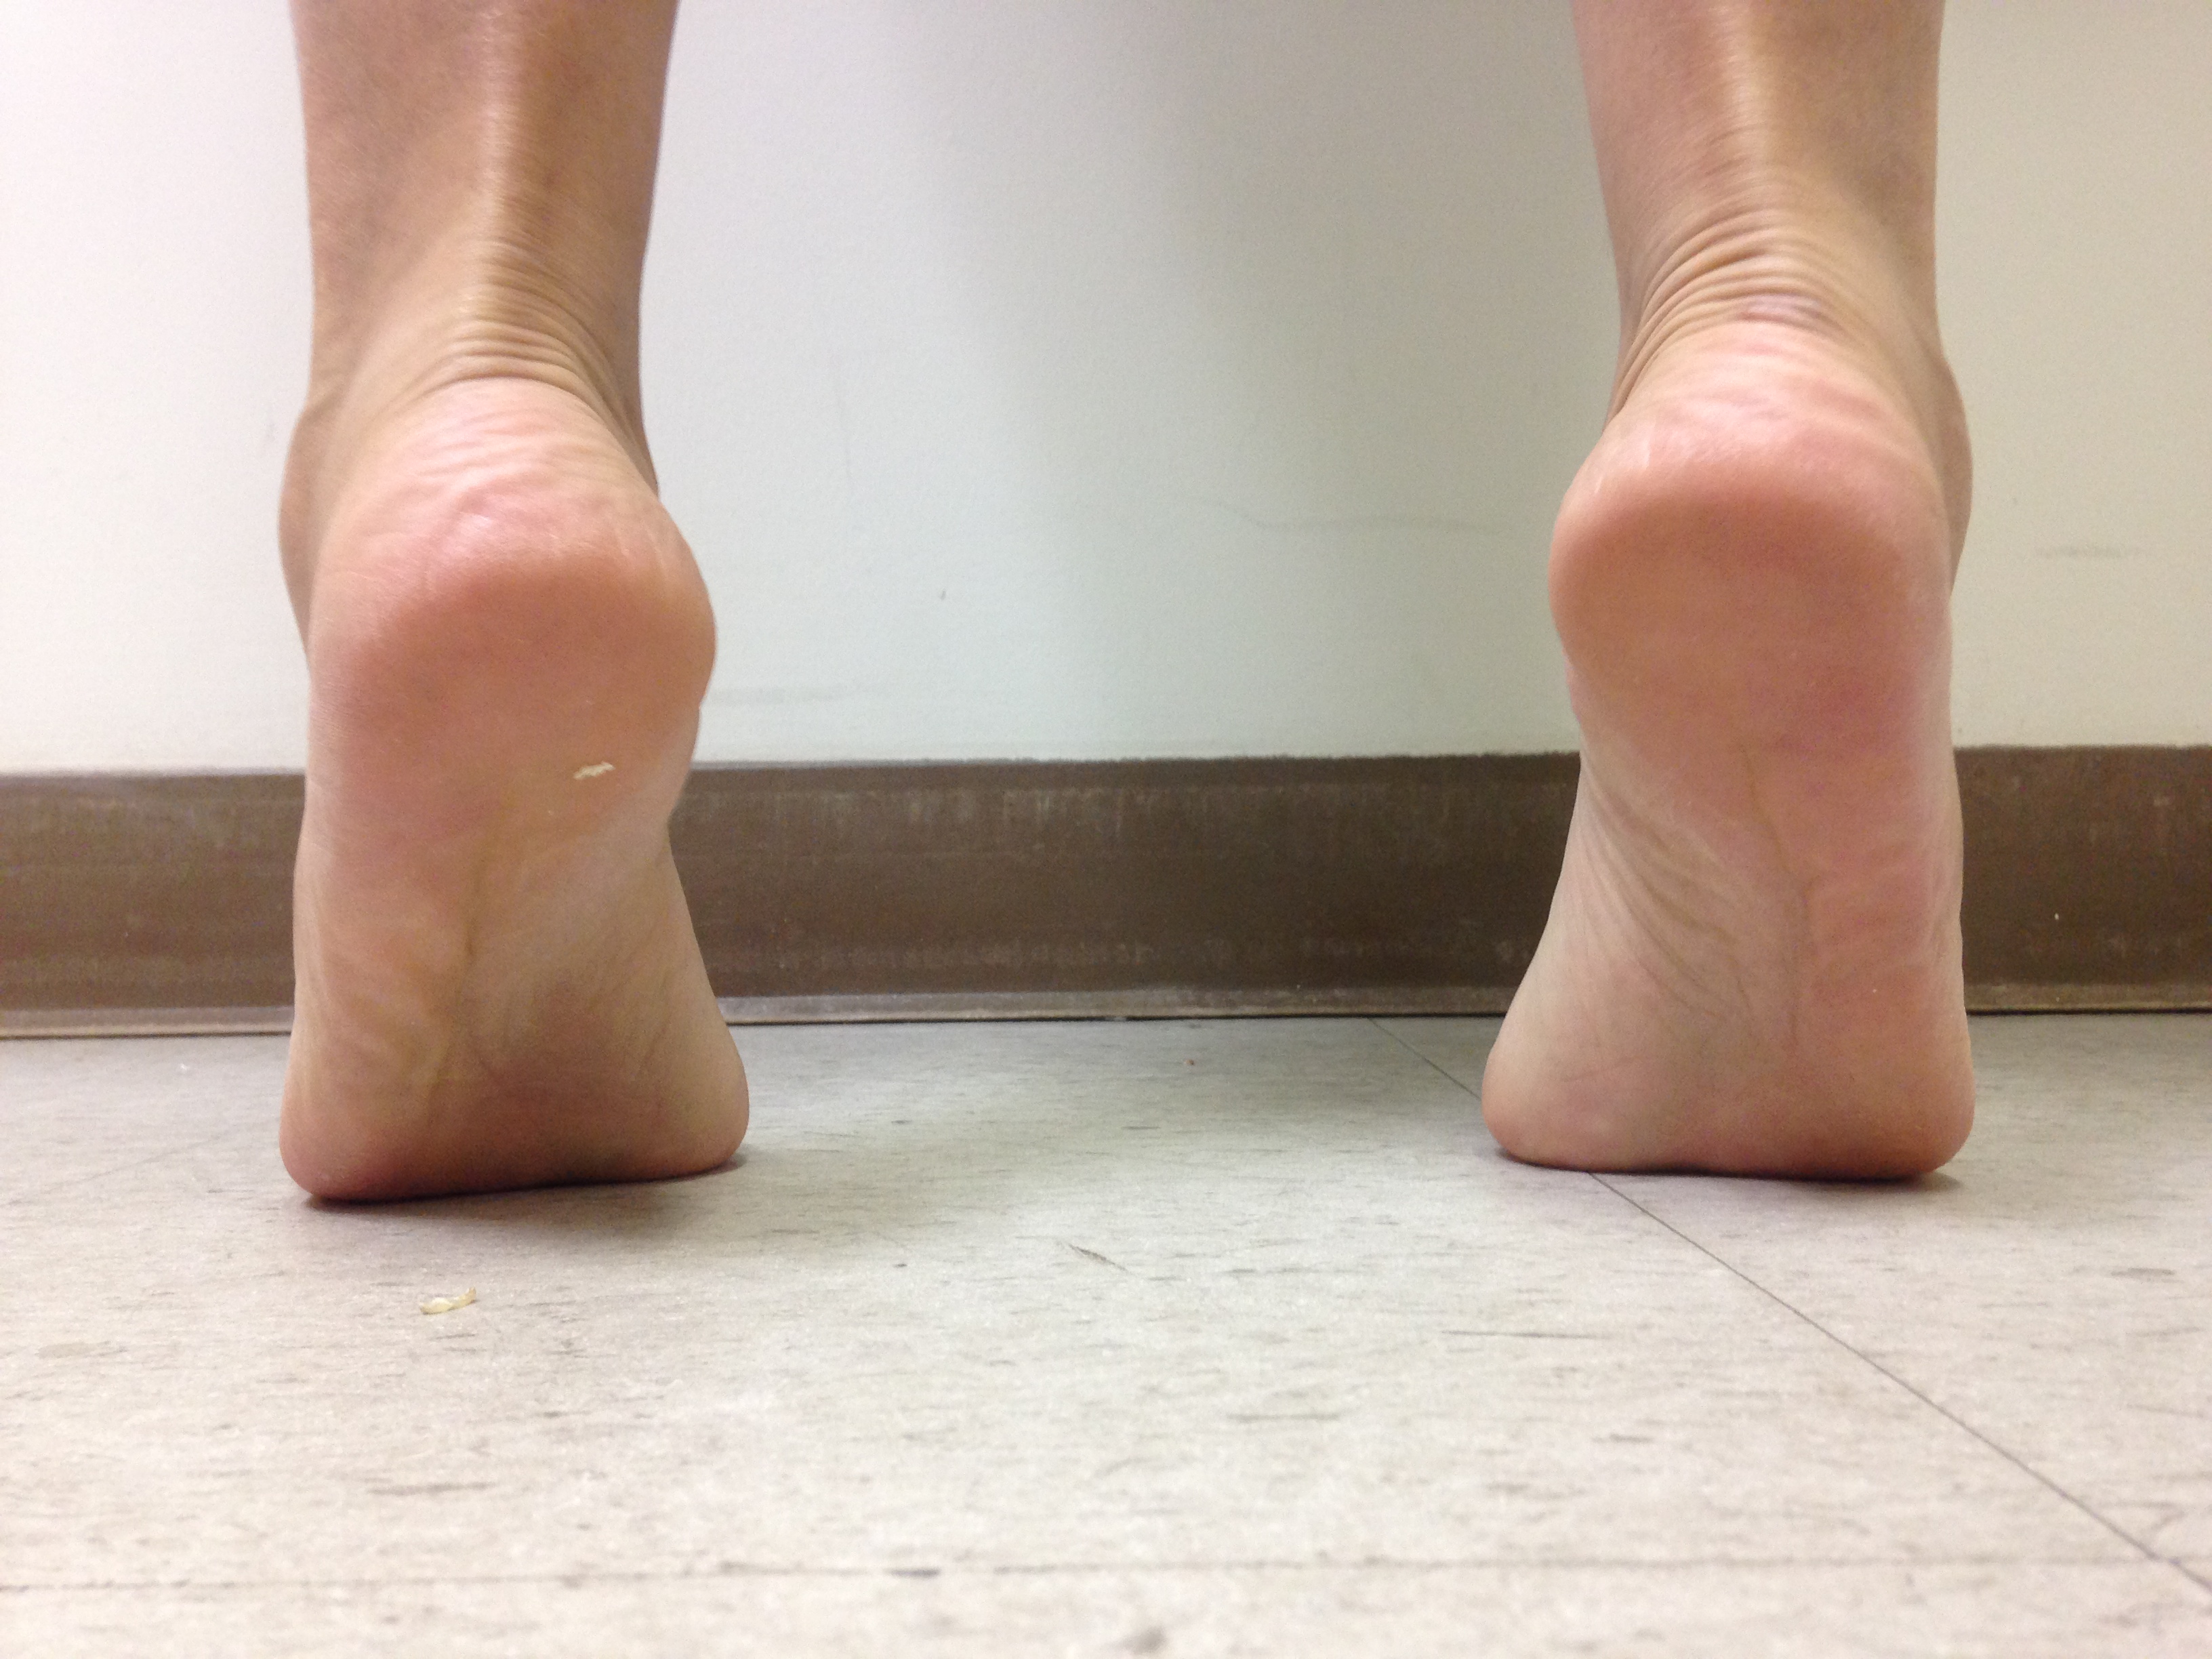
Step 4 – Heel Rise Assessment
Next we want to have our client stand up and begin to compare the above findings with closed chain function. The first assessment we want to look at is a heel rise.
Not only is this a great assessment for determining the foot’s ability to lock and become a rigid lever – but it also allows us to look at the client’s forefoot lever.
When coming up to a heel rise you are looking for the height the client is able to lift – as well as the ability to stay even across all 5 metatarsal heads of MPJs.
On the picture above I’d like to see this client stay a little more medial on the hallux during her heel rise. This assessment finding will be compared to the gait assessment and walking push-off position below.
Step 5 – Walking Push-Off Position
Walking push-off position and hallux dorsiflexion is probably the most important assessment you can do for the gre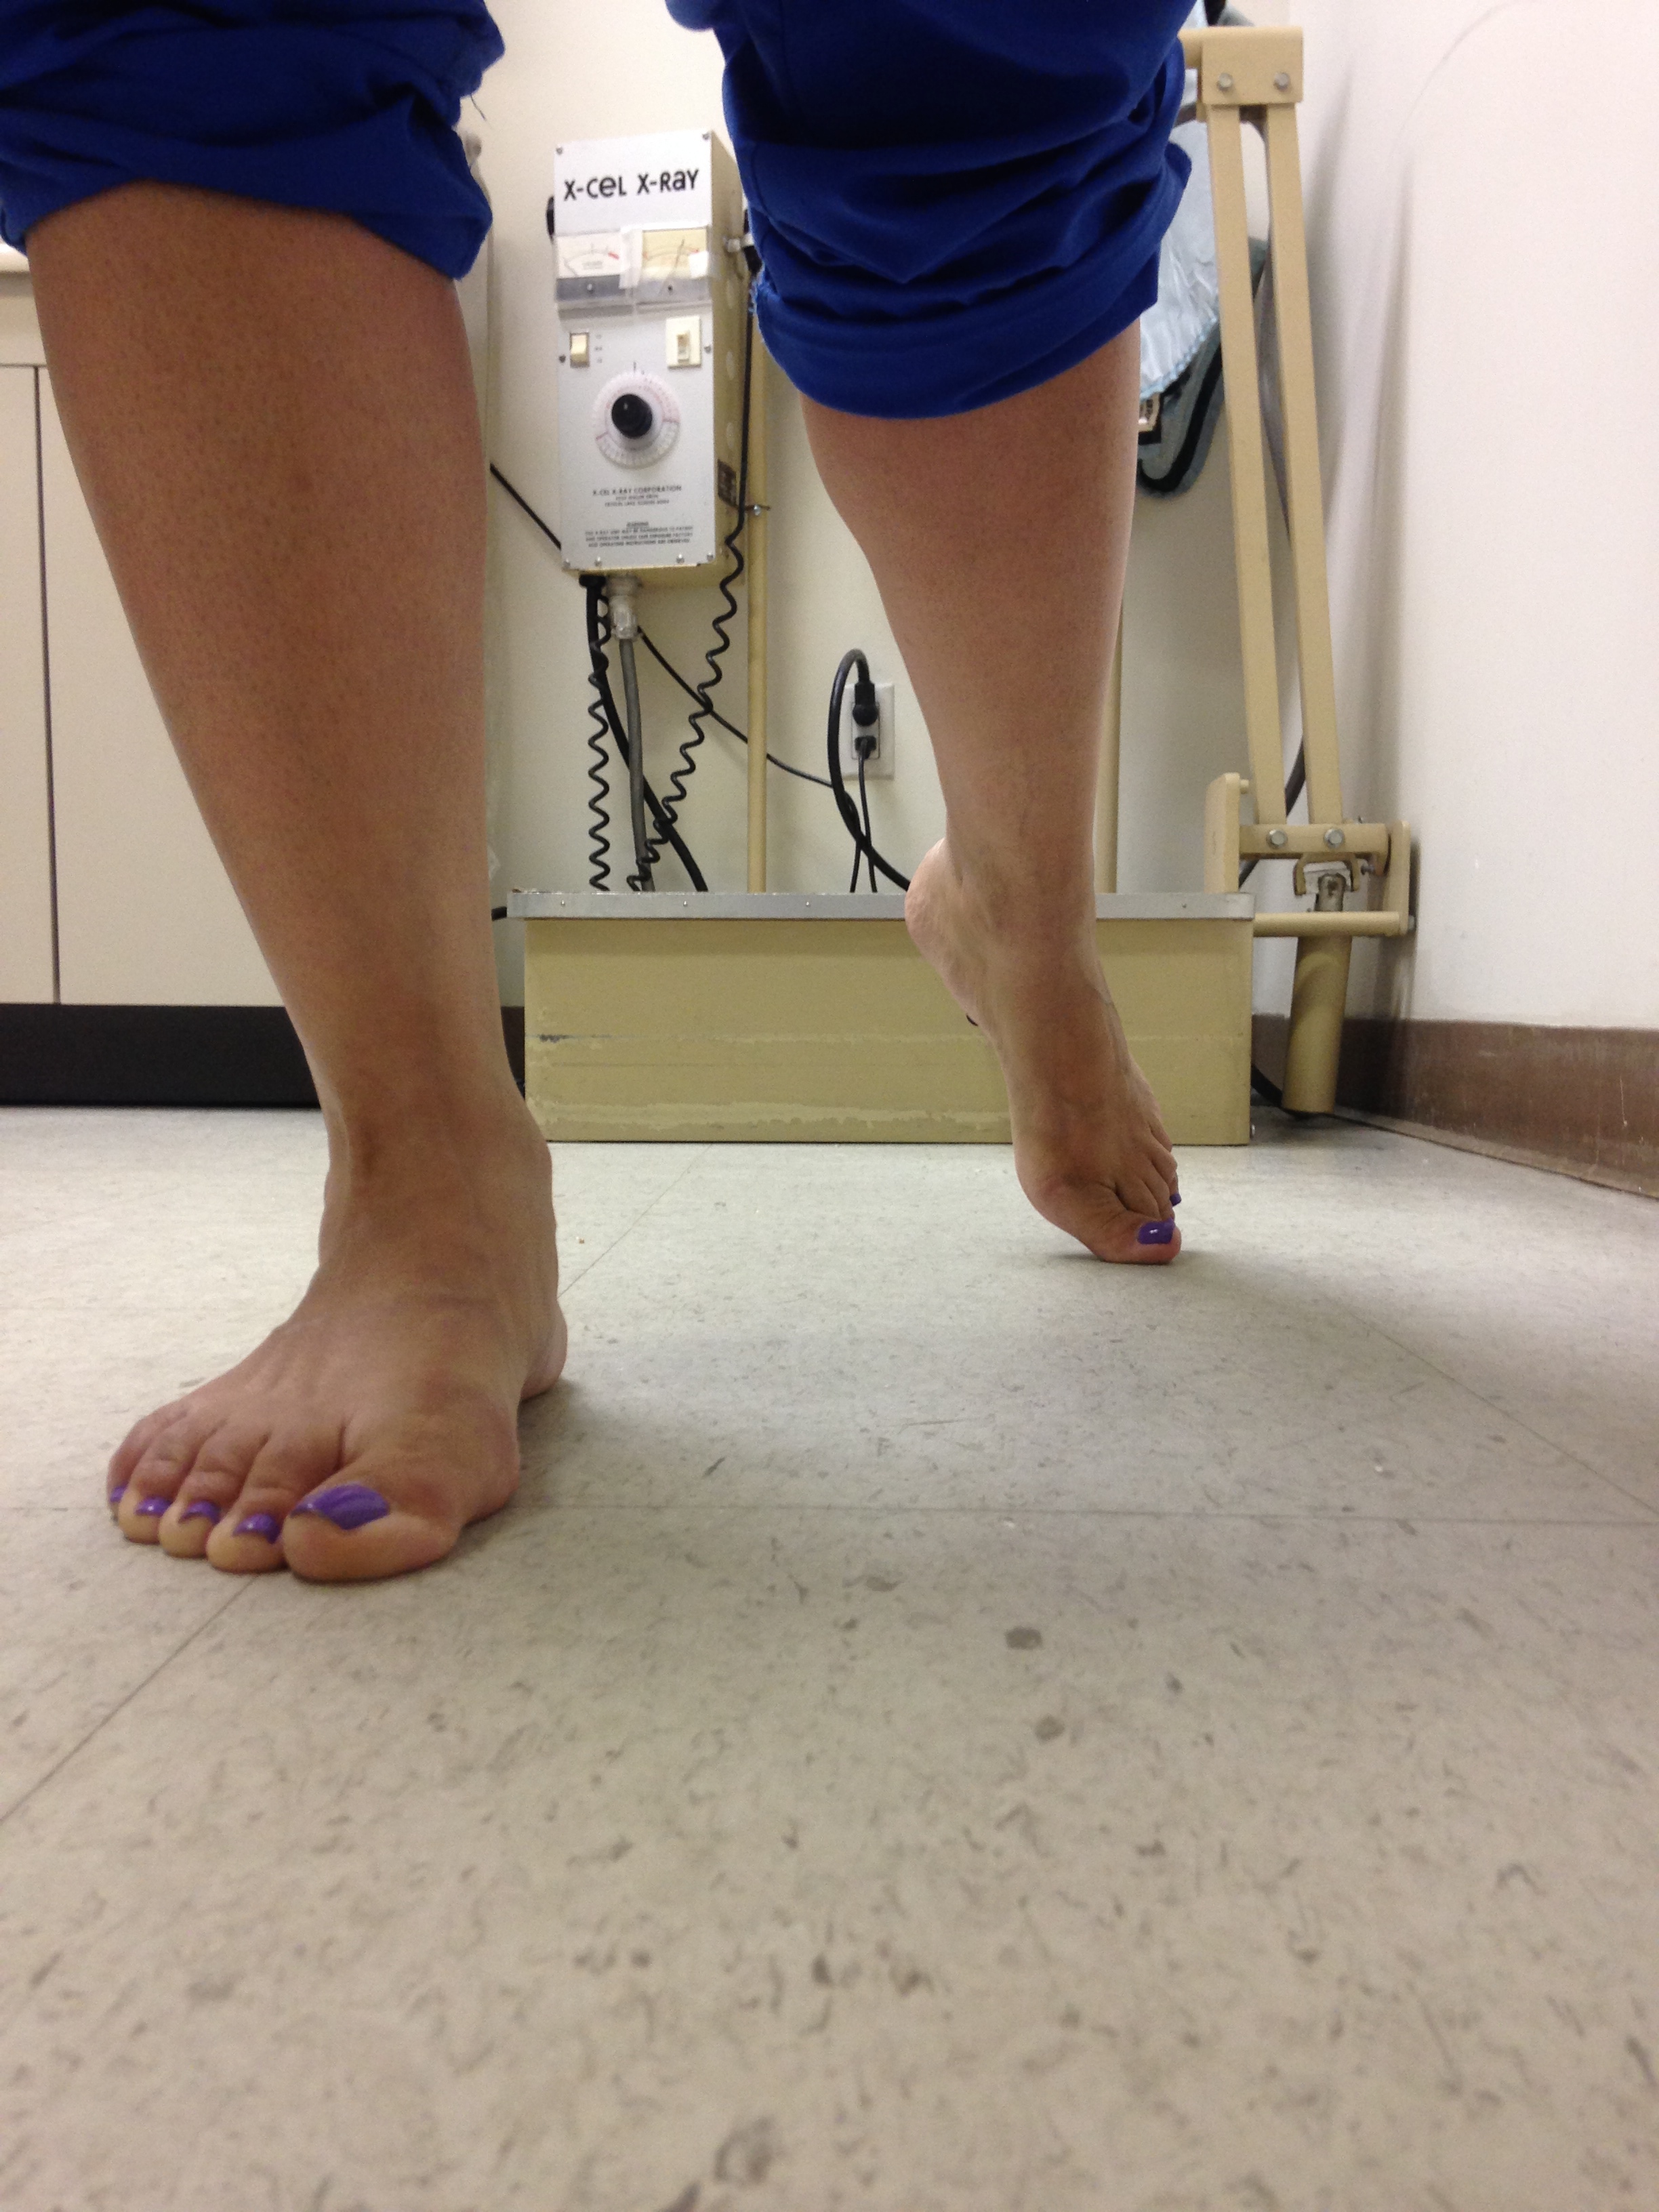 at toe. If a client has great hallux dorsiflexion in all other assessments but then doesn’t push-off properly – all other assessments are irrelevant.
Remember our goal is to optimize function – not just seeing if our client’s pass static assessments.
When walking we need a minimum of 30 degrees of hallux dorsiflexion. If there is less than 30 degrees dorsiflexion – or the dorsiflexion isn’t occurring at the right time during the gait cycle – then compensation results. The most common compensation is that we will see our client’s begin to assume what is called a low gear push-off position.
A low gear push-off position looks like the image to the right and is associated with an unlocked and unstable foot. If you recall during push-off we need maximum foot rigidity to allow power output. In Part 3 of 3 of this blog series we will be focusing on the low gear push-off.
Step 6 – Finger Under Toe / STJ Assessment
I’m sure I could come up with a more technical name for this assessment but I think the “finger under the toe” is easiest to remember! In this assessment I like to demonstrate to clients and professionals the impact that the STJ has on 1st ray stability and hallux dorsiflexion.
In the above client we saw through the different assessments that she had good dorsiflexion open chain with good joint integrity (no crepitus). When we had her stand up though and do a heel rise we begin to see a deviation off of the body weight away from the hallux. In addition during gait she assumed a low gear push-off position – all indicating a compromise in functional hallux dorsiflexion.
The next assessment we want to do as to determine if the limitation in hallux dorsiflexion is driven by a lack of 1st ray stability would be the finger under the toe test. 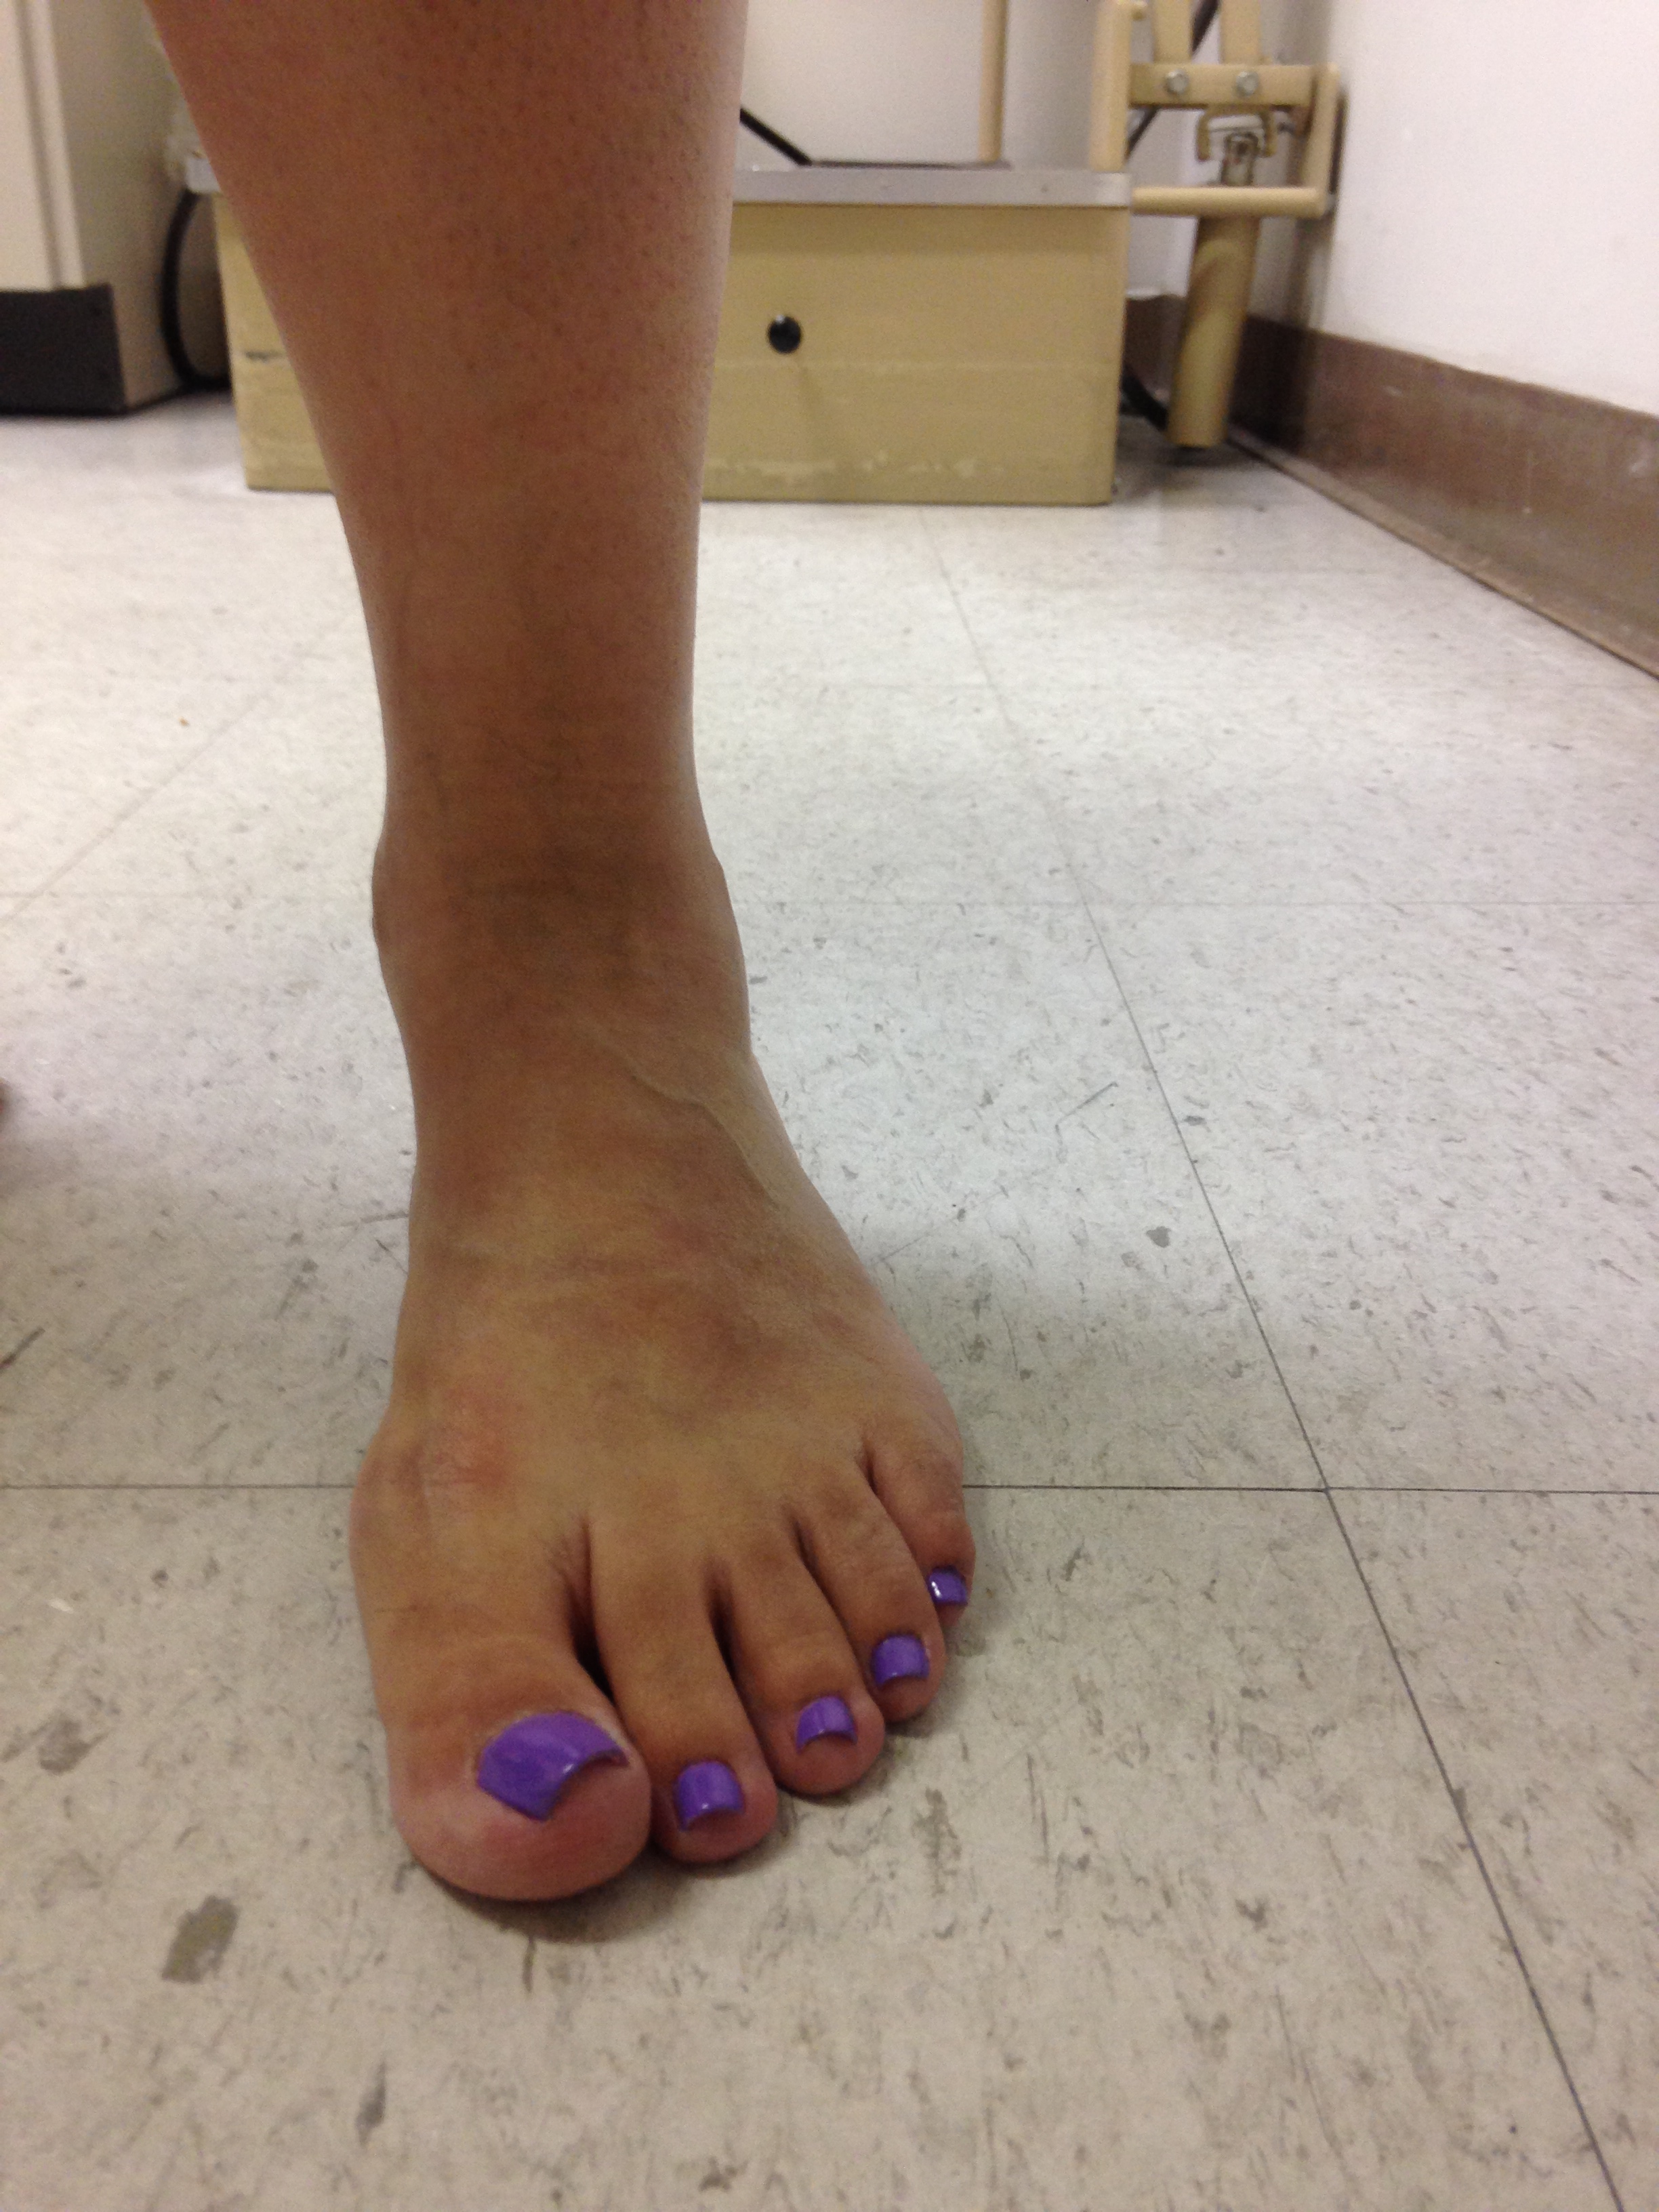
Have the client stand with the feet in a relaxed calcaneal position. In the case of our above client you can see that she is mildly pronating or in an unlocked position. Remember that we ideally want to assess STJ position from behind – not anteriorly like in the picture to the right.
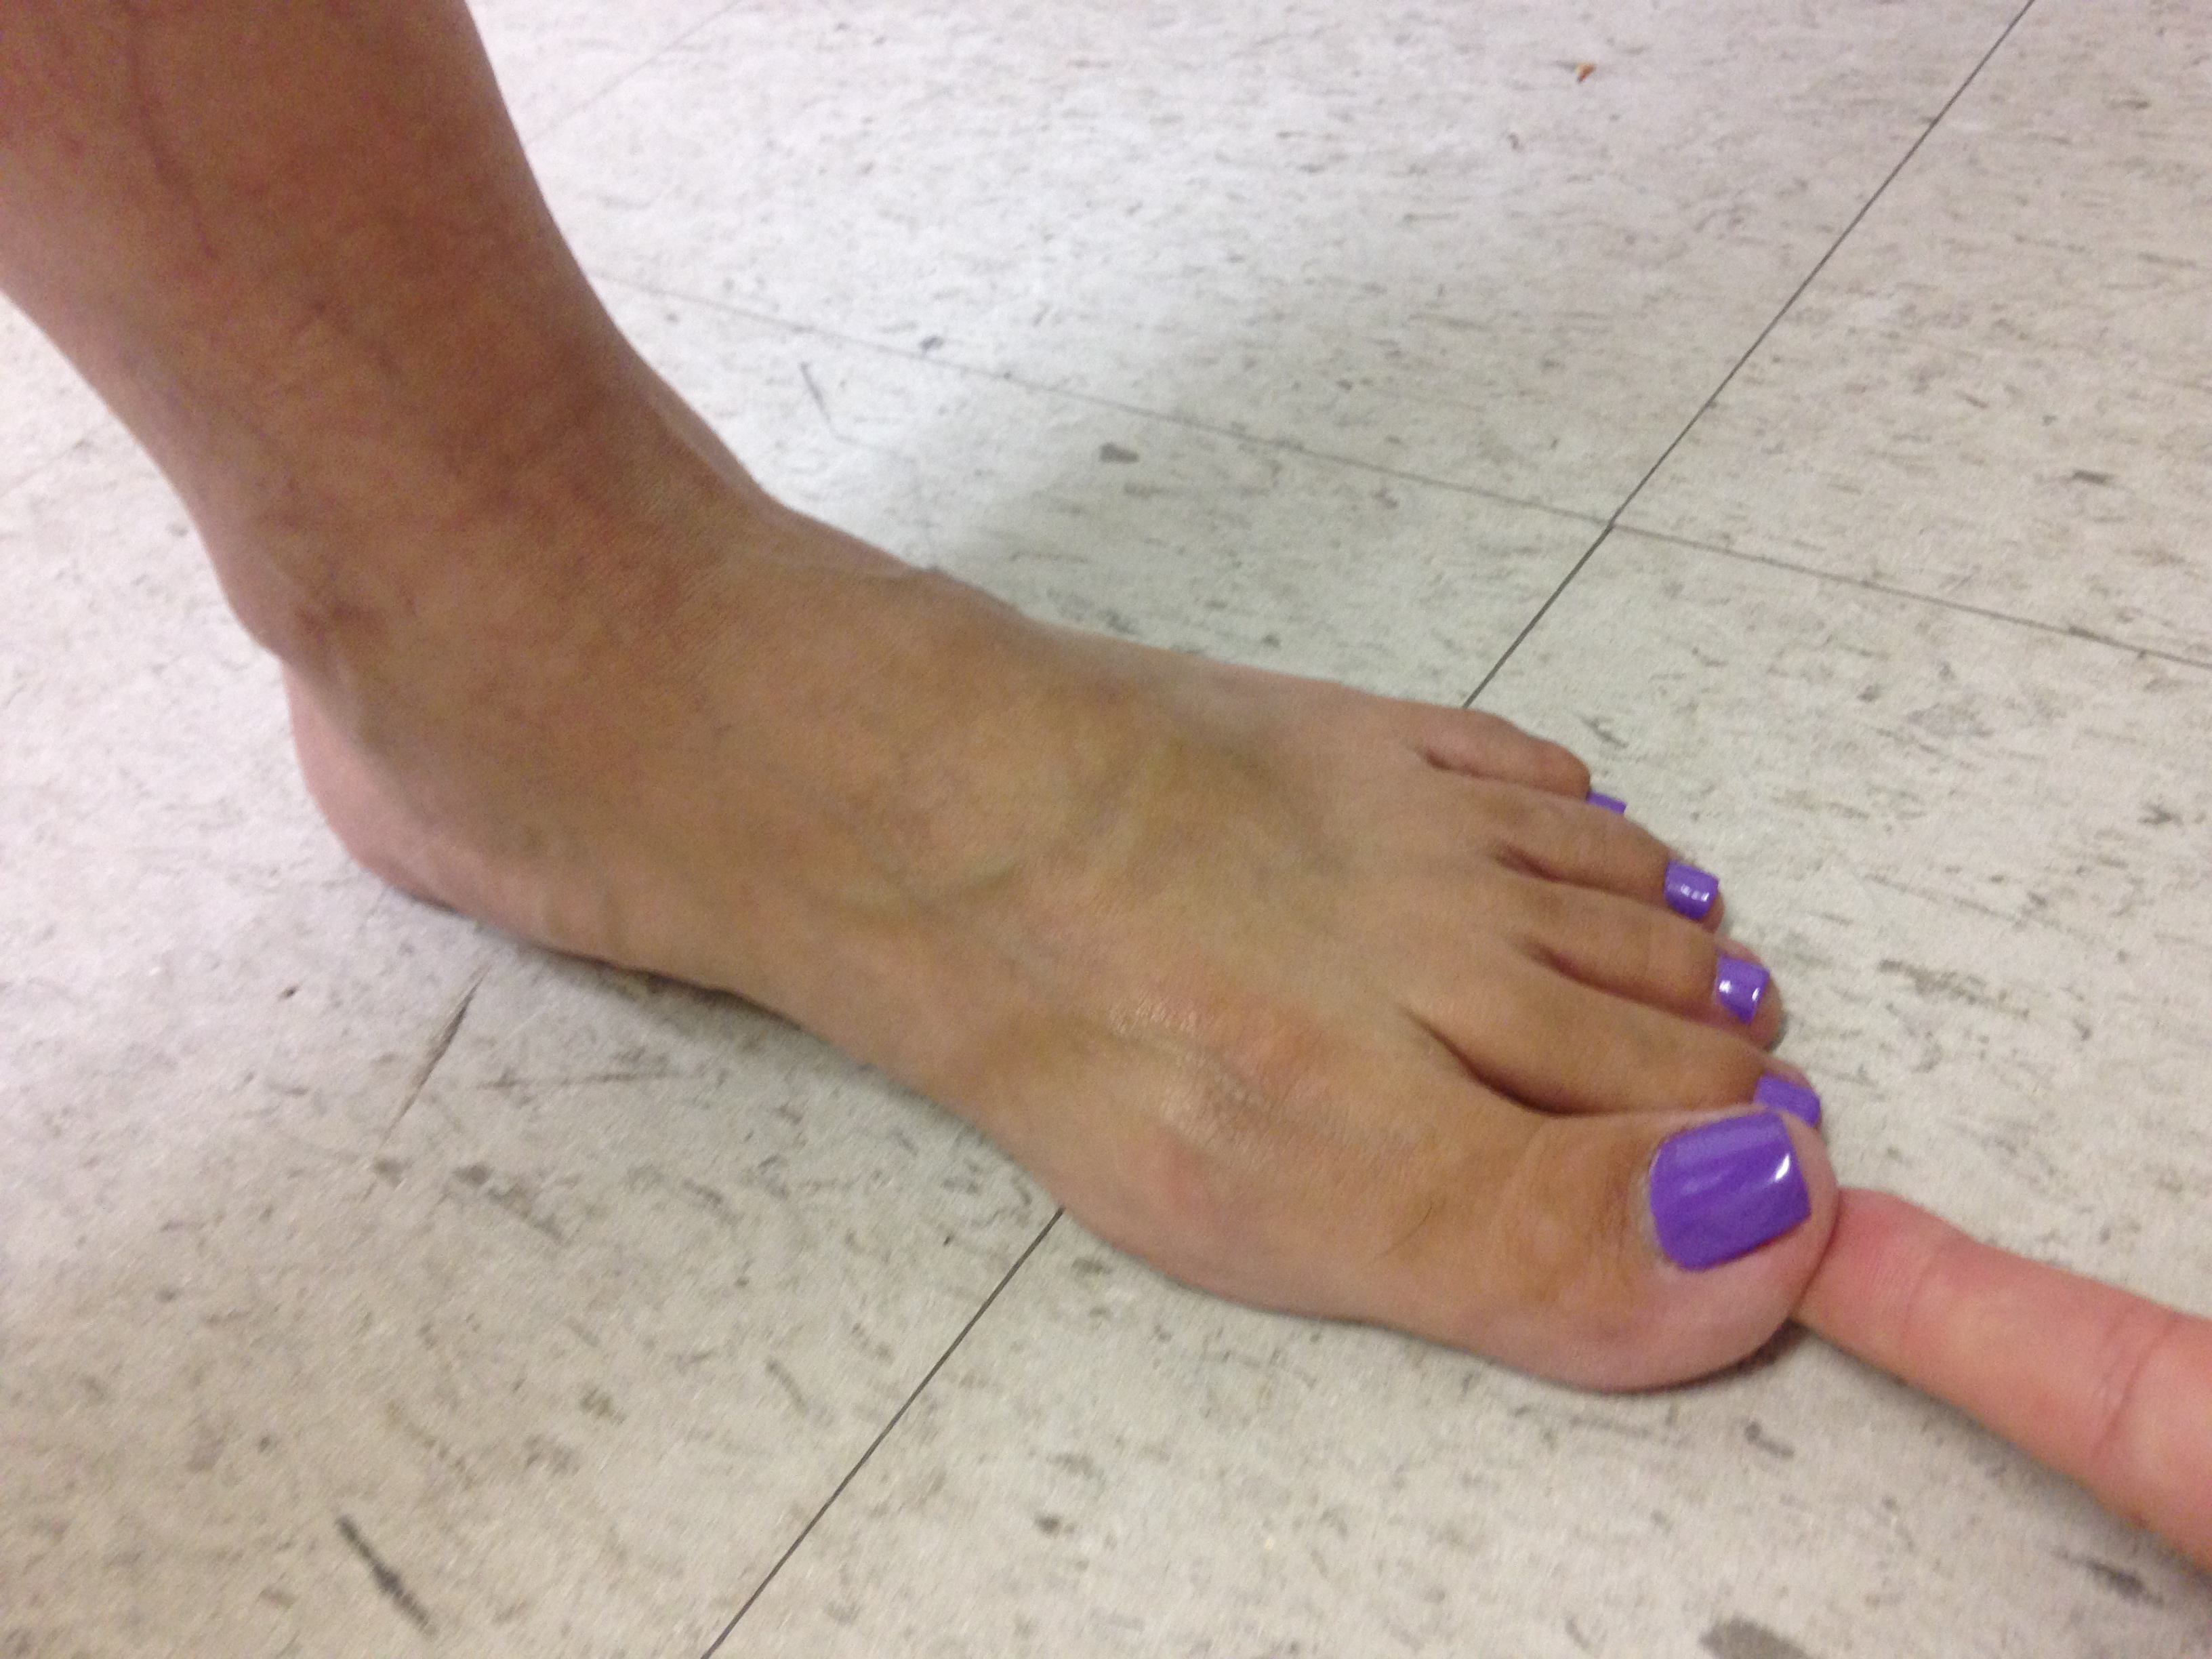 When the client is in this unlocked, relaxed position we then want to assess the hallux dorsiflexion by trying to put our finger under the great toe. Advise the client to stay relaxed and to not fight or assist you in any way.
In the picture to the left you can see I can barely get my finger under her big toe. This is an insufficient amount of hallux dorsiflexion. We should be able to get the entire finger under the toe.
What you want to do next is put the foot in a neutral position. This neutral STJ position will shift the 1st ray into a stable position and engages the peroneus longus or spiral line which we learned in Part 1.
From here you want to re-assess the hallux dorsiflexion with the finger under the toe test.
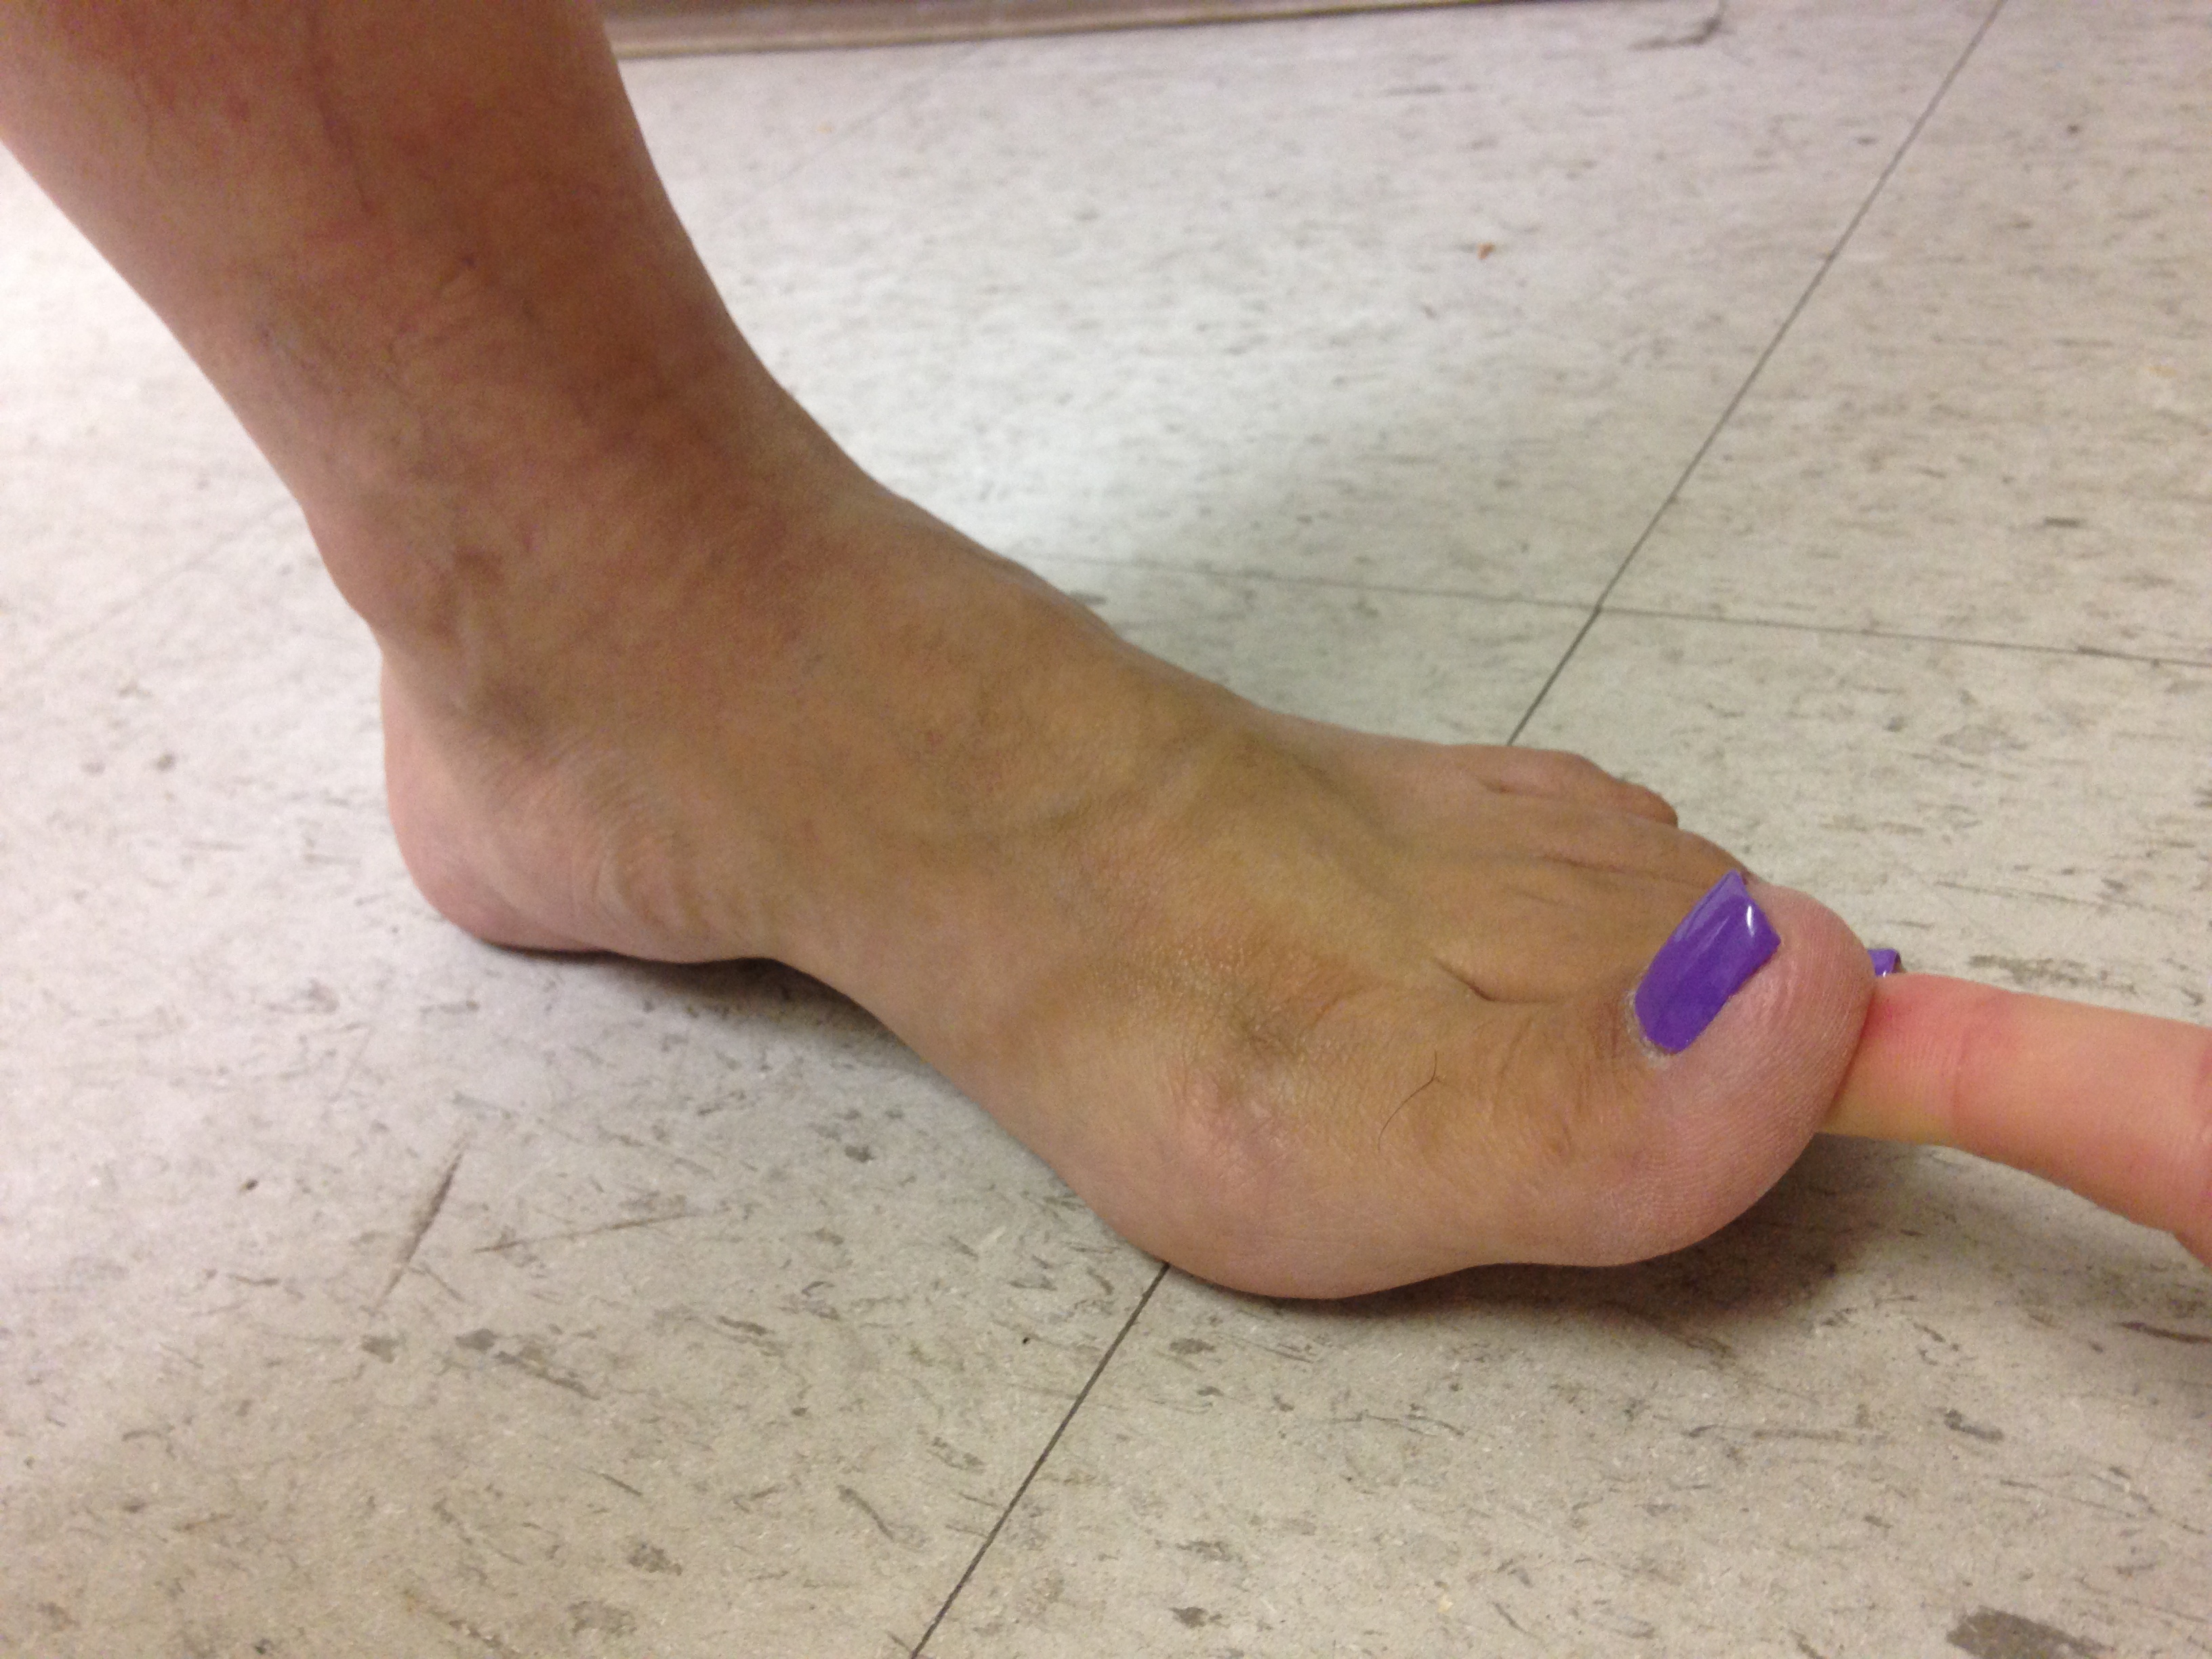 You can see in the picture to the left that stabilizing the STJ and 1st ray led to a large improvement in hallux dorsiflexion.
This assessment begins to guide my approach to this client.
My focus must go back to STJ stability and function if I ever want to optimize her hallux dorsiflexion during closed chain movements.
In Part 3 we will begin to explore the most effective programming to improve client hallux dorsiflexion. Please remember that the above assessment techniques are designed to get your thinking. They are not intended to be a be all end all to diagnosis of great toe dysfunction. A complete great toe assessment would also include images such as X-rays so that we can get a true perspective on joint health.
To prepare for tomorrow’s Part 3 of 3 blog post you may view a recent video I created where I begin to discuss high gear vs low gear push-off positions seen below – as well as sign up for a FREE educational webinar I am doing on Weds August 19th at 9pm EST available – HERE